
REVIEW · STIRLING CASTLE & WALLACE MONUMENT TOURS
Braveheart (Battle of Stirling Bridge) Tour
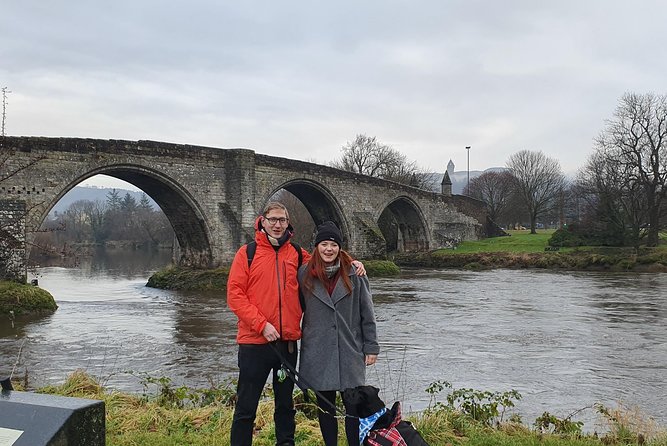
One short walk, one huge victory. This Stirling Bridge tour turns the 1297 Battle of Stirling Bridge into a clear, human story, right where it unfolded. I especially like how the guide connects William Wallace and Andrew De Moray to what you see around Old Stirling Bridge, so names stop feeling like textbook clutter.
Another thing I love: you get a practical sense of the battle geography. The guide points out the location of the older wooden bridge from 1297 and talks through how it may have collapsed, even though there is not much bridge structure left to visually confirm today. The main drawback to consider is simple, it is an outdoor walk and you will be standing in weather, so bring layers and be ready for rain or hail.
In This Review
- Why this Battle of Stirling Bridge tour feels personal and not rushed
- Key Highlights to Look For
- Where you meet at Old Stirling Bridge, and how to plan around it
- The pacing: about 1 hour to 1 hour 15 minutes, mostly outdoors
- The story at the center: Wallace and Andrew De Moray on the bridge site
- Spotting the missing wooden bridge: why the exact location matters
- Braveheart myths get corrected in plain language
- What the guide adds beyond facts: welcome, questions, and follow-up
- Booking value: is $34.45 worth it?
- How to pair it with Bannockburn and plan your day
- Who this tour is best for
- Should you book the Braveheart (Battle of Stirling Bridge) Tour?
- FAQ
- How long does the Braveheart (Battle of Stirling Bridge) Tour take?
- How large is the group?
- Where does the tour meet, and where does it end?
- What do you do during the tour?
- Is the tour offered in English?
- What kind of ticket do I receive?
- What happens if the weather is poor?
- Can I get a full refund if I cancel?
Why this Battle of Stirling Bridge tour feels personal and not rushed
This is built for small groups, capped at 15 travelers, so you are not shouting over 30 strangers. The whole experience is about an hour to 1 hour 15 minutes, which is long enough to learn the story and short enough to keep it from dragging.
The vibe is also very welcoming. Guides like Steven (and his team, including Molly) focus on greeting you properly, keeping things friendly, and answering questions as you go. In a few reviews, I saw mention of added extras like video links at the end, which is nice if you want to refresh the story later without re-reading a book.
Key Highlights to Look For
- Small group size (max 15): You get room to ask questions and actually hear the details.
- Real focus on Wallace and Andrew De Moray: The guide ties the people to the ground you stand on.
- Where the old wooden bridge likely was: The tour shows the battle location even though the original bridge is gone.
- Braveheart vs. reality: Expect correction of popular movie missteps and a fact-based retelling.
- Gardens, models, and maps: You may see visual tools, like a tablet map and references to a bridge model used to explain the site.
Where you meet at Old Stirling Bridge, and how to plan around it
You meet at the Stirling Old Bridge area on the River Forth, Stirling FK8 1AQ, and the tour ends back at the same spot. The meeting location is close to the Old Stirling Bridge, and the start point is easy to find if you are already walking the historic core of Stirling.
This matters because the tour is short, so you want to arrive early enough to settle. Give yourself a few extra minutes if you are using public transport, since the area is active and parking nearby can be tight. If you are pairing this with Bannockburn, you will feel less stress if you keep travel time realistic and do not overbook the day.
Stirling and the monument, done a few other ways
- Stirling Old Town Daily Walking Tour (11am & 2pm)
★ 5.0 · 279 reviews - Braveheart (Battle of Stirling Bridge) Tour
★ 5.0 · 52 reviews - Bannockburn Battlefield Tour
★ 5.0 · 36 reviews - Stirling Old Town Private Walking Tour
★ 5.0 · 24 reviews
The pacing: about 1 hour to 1 hour 15 minutes, mostly outdoors
This is not a museum tour where everything is indoors and temperature controlled. You should expect a walk that is light in distance but includes time spent standing to take in views and listen to the story.
That short format is a plus for most people. You can learn the key narrative arc of Scotland’s Wars of Independence without losing half a day. Still, the weather requirement is real, so wear shoes you can stand and walk in comfortably, and bring a rain layer even if the forecast looks mild. One review even mentioned doing the tour during hail, which tells you the guides will keep going, but you will want to be prepared.
The story at the center: Wallace and Andrew De Moray on the bridge site
The main stop is Stirling Bridge. The guide walks you in the footsteps of William Wallace and Andrew De Moray, explaining how they rose to the front line of Scottish history.
What you are really learning here is cause and effect. The guide does not just list dates. You hear how early chapters of the struggle lead to a major turning point in 1297, then how that moment shaped the legacy people remember. Even if you already know the headline, you will likely come away with a clearer understanding of who these leaders were and why their actions mattered.
Andrew De Moray is a name many visitors know in theory, but often do not feel the story around. This tour spends time on him alongside Wallace, so the narrative becomes more balanced and more complete.
Spotting the missing wooden bridge: why the exact location matters
The most practical part of the experience is the way the guide points out the likely location of the old wooden bridge from the battle, and where it collapsed during the fight. Today, there is not much original bridge material left in view, so the value is in interpretation and direction, not in seeing a preserved medieval structure.
One review noted that there is not a real trace of the bridge now, but the guide still knew where it was and how it likely contributed to the battle. That is an important difference. You are not going to “see” a wooden bridge. You are going to learn how historians and local experts work from evidence and what that means for understanding the battle.
If you like map thinking, this tour will feel satisfying. The guide uses visual aids, including a tablet showing details about the original wooden bridge (one guest specifically mentioned this). You may also hear about a built model used to explain the bridge structure in a way that is easier to understand than a diagram.
Braveheart myths get corrected in plain language
This tour has zero interest in letting you memorize movie mistakes. Expect the guide to address how the popular Braveheart storyline lines up, and where it does not, with what is known about the Stirling Bridge battle and its key figures.
This is more than trivia. Correcting the movie version helps you understand why certain details stick in your mind, even when they are off. By the end, you should feel confident talking about the actual events, instead of repeating scenes you remember from film.
And yes, there is a fun moment where the guide plays with the modern “Andy Murray” confusion. The point is to get you to the real historical group behind the 1297 victory, often referred to as the Guardians of Scotland. It is a clever way to keep the story engaging while steering you back to the 1297 context.
What the guide adds beyond facts: welcome, questions, and follow-up
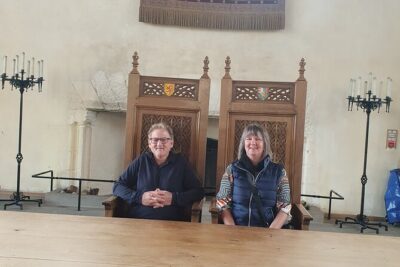
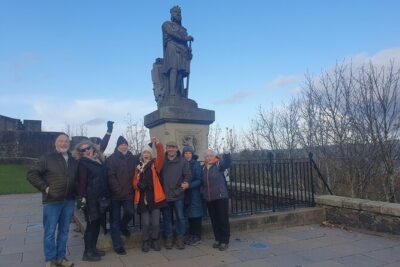
A lot of history tours stop once the walking is done. This one tends to keep the human side going. Reviews include comments about Steven being friendly, passionate, and going out of his way to answer questions.
The welcome seems intentional. Multiple responses mention a warm welcome, a friendly thank-you, and an overall effort to make visitors feel like they are part of the day, not just another ticket scanned. If you are the kind of traveler who asks questions when something sparks curiosity, the small group size gives you that chance without the tour turning into a monologue.
Also, some guests mentioned extra hospitality such as video links after the tour. That is not required for the tour to be valuable, but it is a nice “take it home” touch when you want to refresh the details later.
Booking value: is $34.45 worth it?
At $34.45 per person, this is priced like a focused, single-site walking tour rather than a full-day excursion. For the money, you get three things that usually cost more elsewhere: a small group cap of 15, a guide who can answer questions in real time, and a site-specific explanation of the battle geography.
Because the duration is around an hour to 1 hour 15 minutes, it also fits the way many people plan Stirling days. You can slot it between longer attractions or pair it with Bannockburn without burning your whole morning or afternoon.
I think the value is strongest if you care about the “where” of the battle, not just the “who.” If you want to understand the terrain and why the wooden bridge matters, this format is a good use of time.
If you only want a quick overview and you already know everything about 1297, you might find it short. But for most visitors, the clarity and guidance make the payoff feel immediate.
How to pair it with Bannockburn and plan your day
Many people naturally want to pair this with Bannockburn, because both connect to the same broad period of Scotland’s independence struggle. One review specifically mentioned booking both tours on the same day and even noted that the guides worked with the schedule when there were only a small number of guests.
If you do both, think of it like two chapters that read better together. Stirling Bridge helps you understand the early momentum and the key figures. Bannockburn builds from there with the later battlefield story.
Practically, give yourself a buffer between tours. Even if both are walking tours, you will want time to regroup, grab a snack, and not rush across town with tired legs.
Who this tour is best for
This is ideal if you:
- Want a small-group history walk with room for questions.
- Like the story behind William Wallace and Andrew De Moray, not just the headline.
- Enjoy tours that correct popular myths, especially movie versions of medieval history.
- Have limited time in Stirling but still want meaning at a specific site.
It is less ideal if you:
- Hate outdoor walking or standing in wind and rain.
- Prefer a fully indoor, self-paced experience with lots of preserved artifacts to look at.
Should you book the Braveheart (Battle of Stirling Bridge) Tour?
Book it if you want your Stirling time to feel specific, guided, and grounded in the 1297 story. The small group size and the guide’s attention to the exact bridge location make it more than a “read the plaque” stop. You also get a history retelling that corrects Braveheart-style distortions without turning it into a lecture.
Skip it only if you are mainly seeking preserved medieval structures you can photograph, because the focus is interpretation at a site where much has changed. If you show up prepared for the weather and you like learning how people think about the past, this tour is a strong use of your hour or so in Stirling.
FAQ
How long does the Braveheart (Battle of Stirling Bridge) Tour take?
It runs about 1 hour to 1 hour 15 minutes.
How large is the group?
The tour caps at a maximum of 15 travelers.
Where does the tour meet, and where does it end?
You meet at Stirling Old Bridge on the River Forth (Stirling FK8 1AQ, UK), and the tour ends back at the same meeting point.
What do you do during the tour?
You walk around the Stirling Bridge area connected to the battle, learn about William Wallace and Andrew De Moray, and see where the old wooden bridge from the 1297 battle was located, including where it collapses during the battle.
Is the tour offered in English?
Yes, the tour is offered in English.
What kind of ticket do I receive?
You receive a mobile ticket.
What happens if the weather is poor?
This experience requires good weather. If it is canceled due to poor weather, you will be offered a different date or a full refund.
Can I get a full refund if I cancel?
Yes. You can cancel up to 24 hours in advance for a full refund. If you cancel less than 24 hours before the start time, the amount paid will not be refunded.
A Wider Spread of Tours

The Rest of What We Wrote Up
Stirling and the Monument
Newest write-ups around Stirling
- Stirling Castle and the Secrets of the Old Town Private Tour★ 5.0 · 6 reviews
- Private Tour of the Highlands, Glencoe and Castles from Stirling★ 5.0 · 7 reviews
- Private Stirling Old Town Tour★ 5.0 · 8 reviews
- 3 Hour Private Tour of Stirling Old Town and Stirling Castle★ 5.0 · 17 reviews
- Stirling Old Town Private Walking Tour★ 5.0 · 24 reviews
Stirling Castle & Wallace Monument Tours, compared.
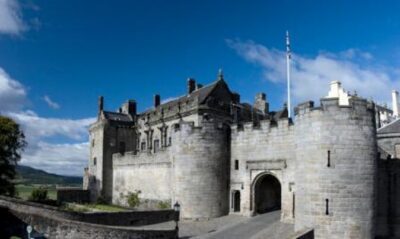 ★ 4.5Loch Lomond, Kelpies & Stirling Castle Tour Including AdmissionFrom $721,305 reviews
 ★ 4.5Loch Lomond, Stirling Castle and the Kelpies Day TourFrom $631,198 reviews
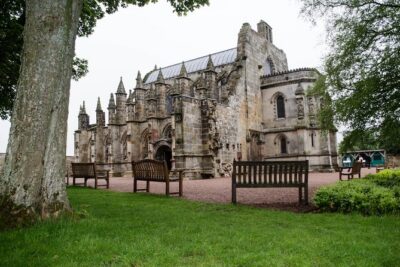 ★ 4.5Rosslyn Chapel, Dunfermline Abbey and Stirling Castle Day TourFrom $77649 reviews
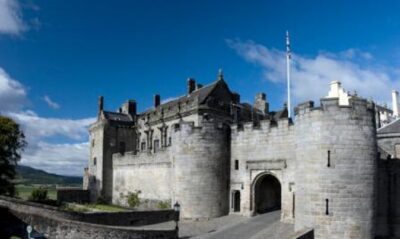 ★ 5.0Day Trip to Loch Lomond and Trossachs National Park with Optional Stirling Castle Tour from Edinburgh626 reviews
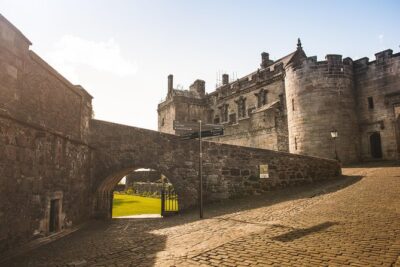 ★ 5.0Stirling Castle, Loch Lomond and Cruise Day Tour from GlasgowFrom $98566 reviews
 ★ 5.0Stirling Castle and Whisky Very Small Group Tour from EdinburghFrom $95386 reviews
 ★ 4.5Loch Lomond, the Trossachs and Stirling CastleFrom $58343 reviews
 ★ 5.0Stirling, Highlands & Distillery in SpanishFrom $76297 reviews
Browse the lists this tour appears in